¶ Login
You manage the Defend-O-Tron from its web interface, in any browser. You can open it at these addresses:
https://defend-o-tron.protected.lan/(recommended). This uses the device’s built-in DNS and its web proxy. It gives the cleanest experience after you install the Root CA.https://<management-ip>/: the same path, by IP address. Use it if your computer does not use the device’s DNS.https://<management-ip>:9090/: the web interface directly, without the web proxy. Use it if the web proxy has a problem.
The web interface uses only HTTPS. If you type
http://, the device sends your browser to the HTTPS address. Until you install the Root CA, your browser shows a certificate warning.
Using the built-in DNS is the preferred way to reach the Defend-O-Tron. It gives you a stable name and a trusted HTTPS connection after the Root CA is installed.
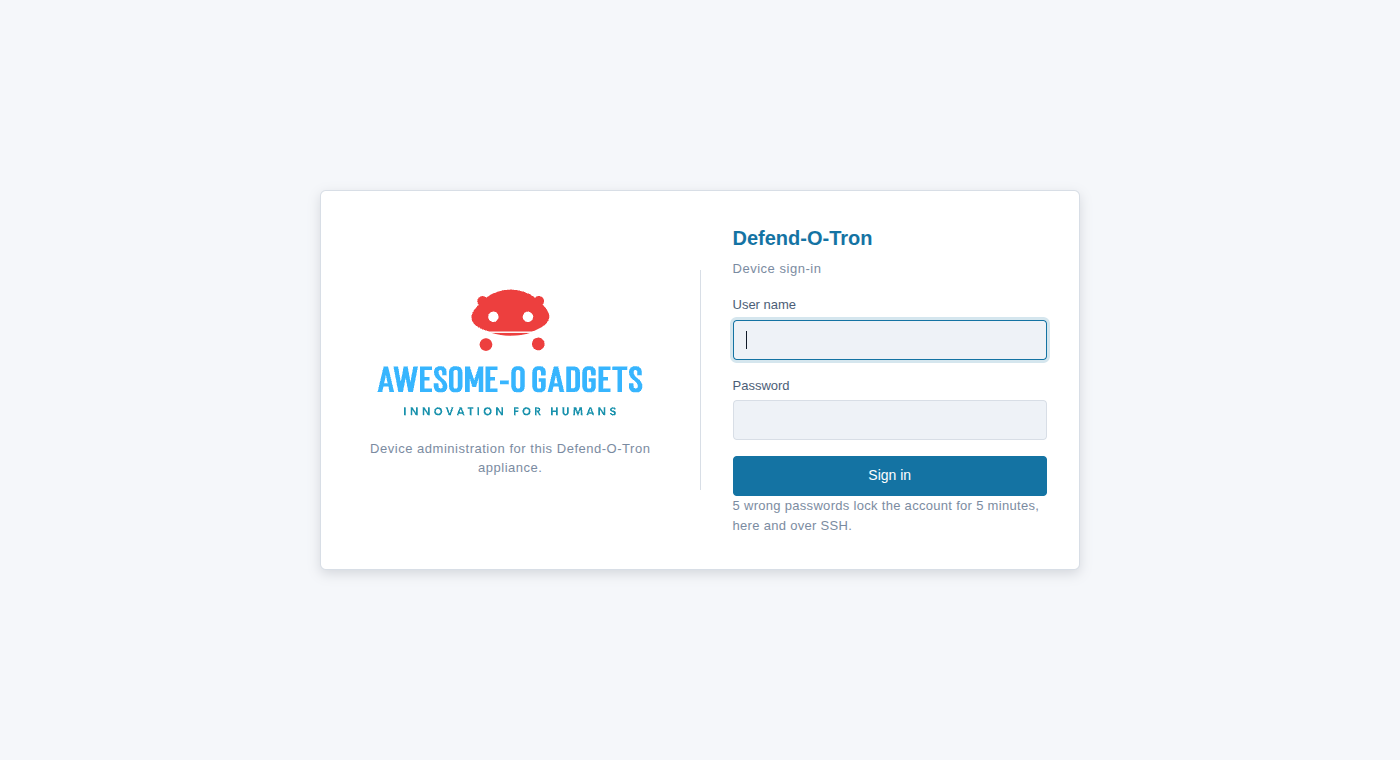
¶ Wrong passwords
5 wrong passwords lock the account for 5 minutes. The lock counts together for the web interface, SSH and the device’s own console, so wrong passwords in one place also lock the others. While the account is locked, the sign-in page shows how long is left, and the Sign in button comes back when the time is up.
On the web interface, many wrong passwords from one computer, for any user names, also lock out that computer for 5 minutes. Over SSH, one computer can open at most 6 new connections a minute.
¶ First time login
- Sign in with the user name
adminand the passwordadmin. - The device asks you to choose a new password at once. You cannot use any other page until you change it.
- The Setup wizard then starts. It takes you through each item that a new device needs: Time zone (and, if you like, the device’s location), Management IP, Enrollment, Home network, Root CA, Users and Backup password. At the end, you see a summary and click Finish setup.
You can run the setup again later, from the First-run setup tab on the Overview page. First-Time Setup goes through each step with a screenshot.
Until the setup is finished, the
adminaccount cannot sign in over SSH. This stops anyone on your network from using the first-time password before you change it. When you click Finish setup, SSH works foradminat once.
¶ Finding Your Way Around
¶ The sidebar
The sidebar on the left holds every page, in groups:
| Group | Pages |
|---|---|
| (top) | Overview, Services, Monitoring, Logs |
| Threat activity | Dashboard, Alerts, Decisions, History, Allowlists, Bouncers, Metrics |
| Detection | Rules, Firewall, DNS filtering, Audit evidence |
| Device | Firmware, Software updates, Backups, Hardware, Management port, Certificates, Remote support, Terminal |
| Account | Accounts, Profile (and Setup, until the first-run setup is finished) |
The Help button at the top of every page opens this documentation.
¶ What you see depends on your role
Each user has a role. The administrator role can see and change everything. Other roles see only the pages they are allowed, and some only in read-only mode.
The viewer role is read-only. A viewer can see Overview, Services, Monitoring, Logs, all of Threat activity, Rules, Firmware, Hardware, Certificates, Profile and About. Administrators can make other roles on the Accounts page.
These pages are only for administrators: Backups, Management port, Remote support, Terminal, Accounts and Setup. Only administrators can restart or shut down the device, or change its time zone.
¶ The user menu and the theme
Click your initials at the top right to open the user menu. It shows:
- Role: your role on this device.
- Theme: Dark, Light or System. System, where a new browser starts, follows your computer’s light or dark setting and changes with it. Dark or Light keeps that theme whatever the computer does. The choice is kept per browser.
- Auto refresh: how often the pages reload their data: Off, Every 30 seconds, Every minute or Every 5 minutes.
- Map style: how the threat maps are drawn (only if you can see Threat activity).
- View full profile, About and Sign out.
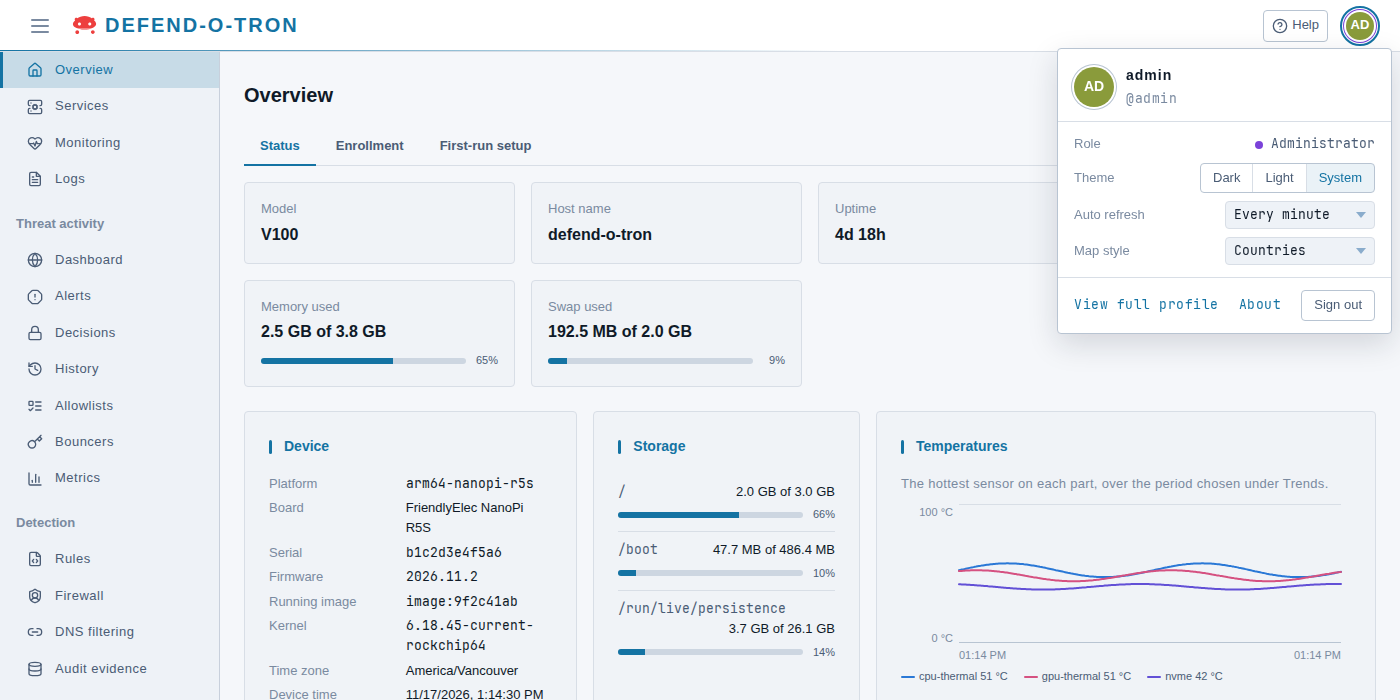
The About page shows the device, firmware and web interface versions, and the open source projects the device uses, with their licences.
¶ Overview
The Overview page shows the state of the device: the model, host name, uptime, load and memory, the Device, Storage and Temperatures cards, the Trends charts and the Health checks. Administrators also see the Enrollment and First-run setup tabs. See Device Status.
¶ Restart and shut down
Administrators can restart or shut down the device with the Restart and Shut down buttons at the top of the Overview page. This is the recommended way to safely restart the device. To confirm, you type the word restart or shut down.
Internet traffic through the Defend-O-Tron stops while it restarts or is off. A restart usually takes a few minutes. After a shut down, the network path stays down until someone starts the device again. Plan a restart for a quiet time.
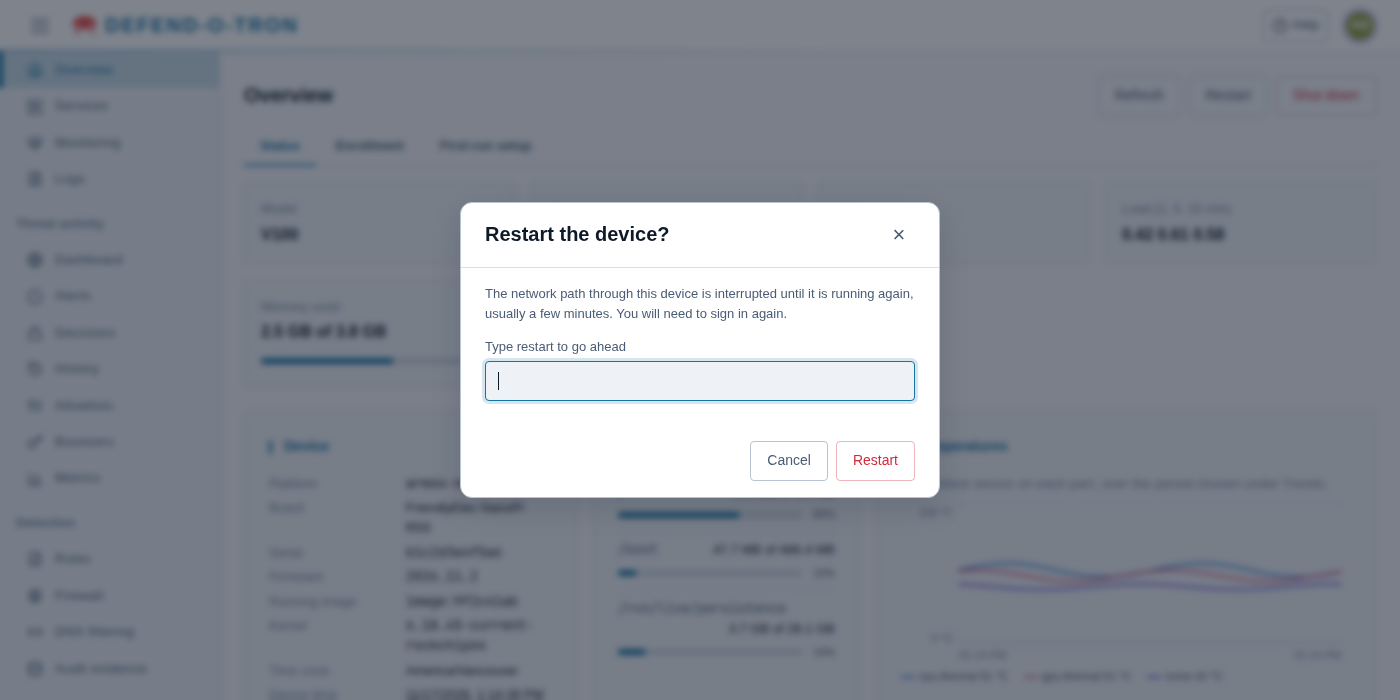
After a restart, the page shows that the device is restarting and checks on it every few seconds. When the device is back, you go to the sign-in page. Sign in again to continue.
After a shut down, the page tells you when the device is off. To start it again, disconnect its power, wait a few seconds, and connect the power again.
¶ Restart in maintenance mode (V200)
Maintenance mode starts the device without its saved settings and without the protection services, so you can repair it from the command line. On the V200, administrators can start it from the web interface. Use this when you need maintenance mode and have no keyboard or screen at the device.
- On the Overview page, click Restart in maintenance mode.
- Read the dialog, type
maintenance, and click Restart. - The device shows a one-time password. Note it now. It is shown only once, and it is not kept anywhere you can read it again.
- When the device is back, usually after a few minutes, sign in over SSH from your management network:
ssh admin@<management-ip>, with the one-time password. - When you have finished, run
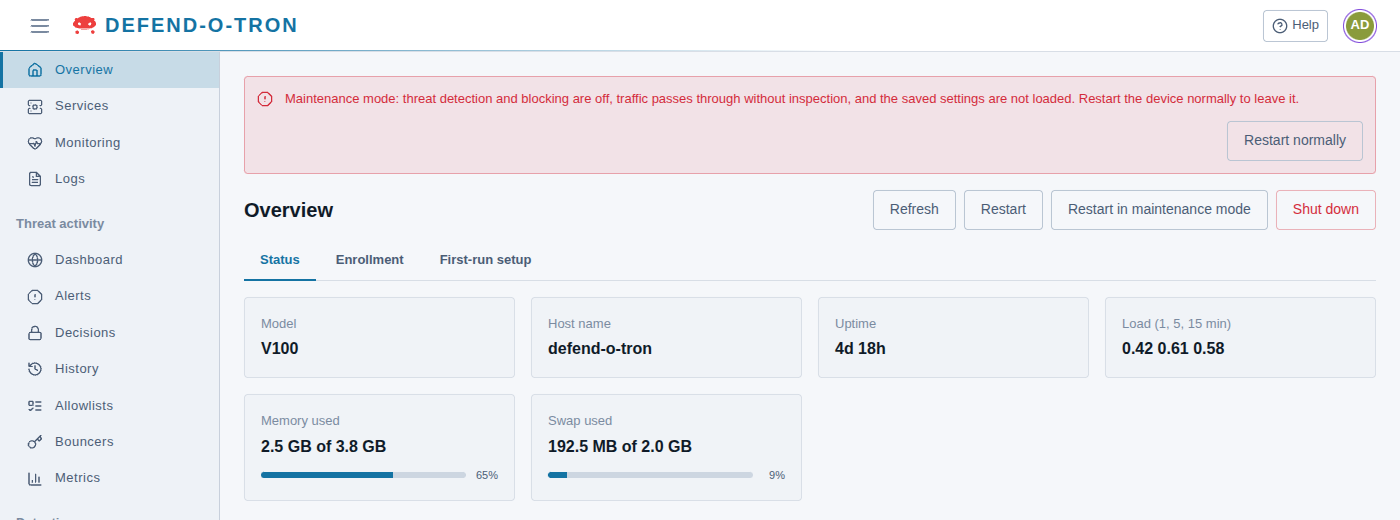
sudo reboot, or click Restart normally in the web interface’s maintenance banner. The device starts normally again, with your settings.
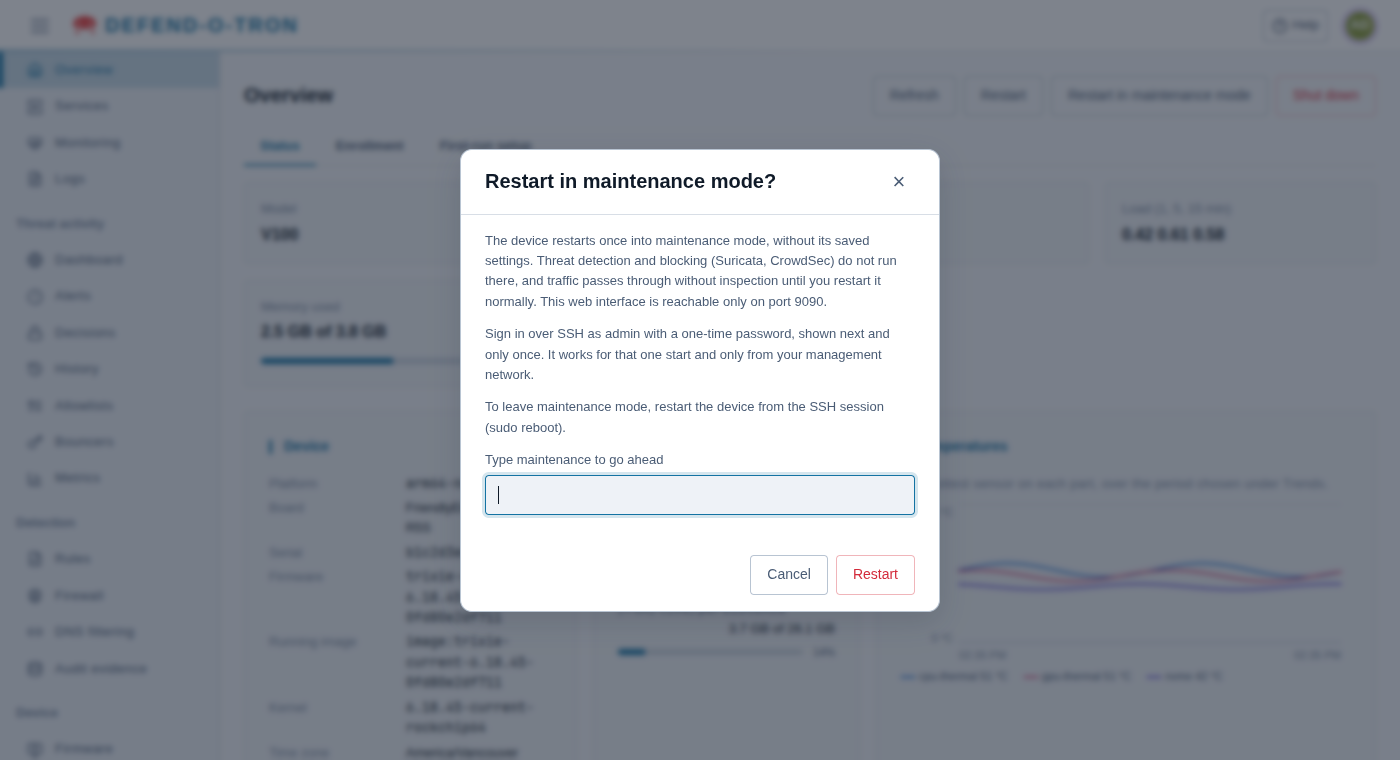
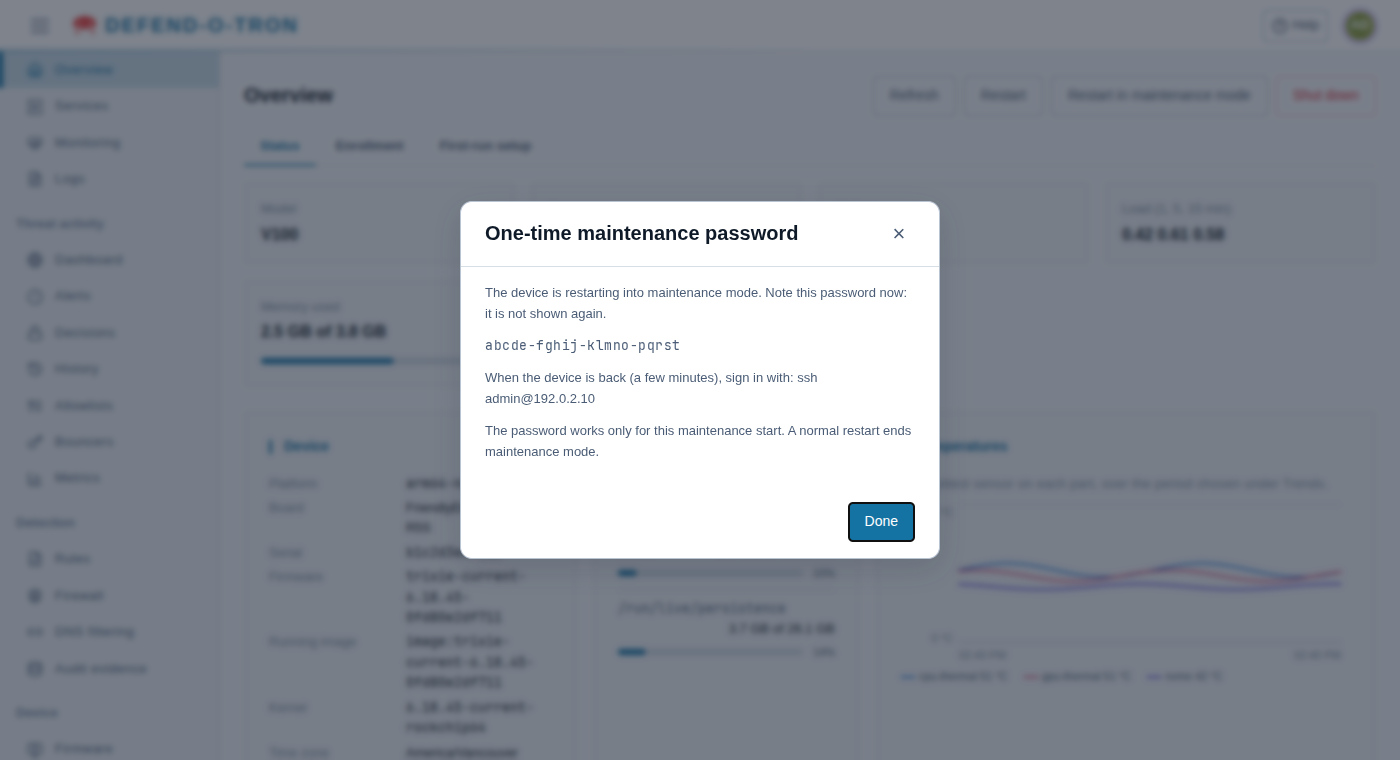
In maintenance mode, the device does not inspect or block traffic. Suricata and CrowdSec do not run, and traffic passes through without inspection until the device starts normally again.
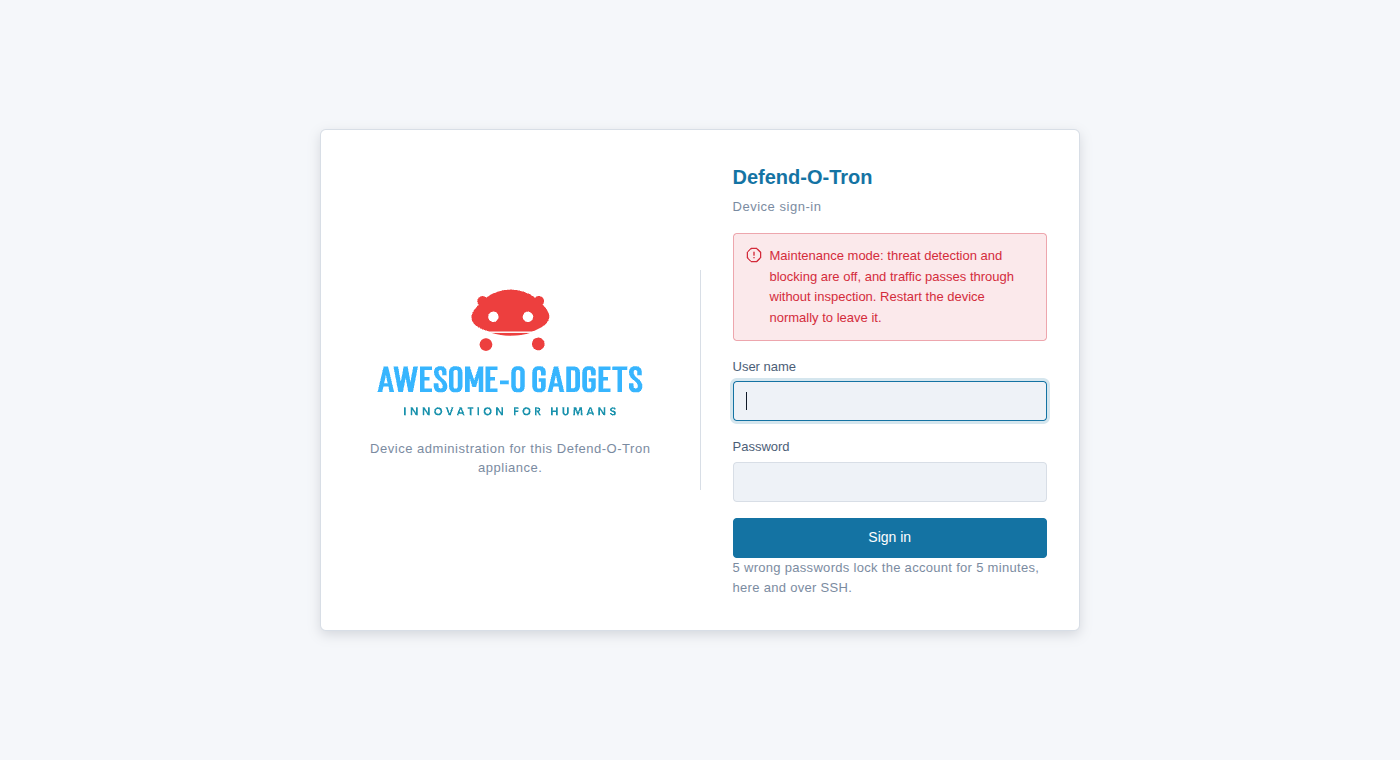
In maintenance mode, the web interface is reachable only at https://<management-ip>:9090/, and pages that need the protection services have no data. Every page shows a red banner while the device is in maintenance mode, and administrators can click Restart normally in it. The sign-in page shows the same warning before anyone signs in.
The one-time password works only for that one maintenance start. If the device restarts normally first, for example after a power cut, the password is deleted. On the V100, start maintenance mode from the boot menu on the device’s console.
¶ Time zone
The default time zone is UTC. To change it:
- Go to Device → Hardware.
- Click the Time zone config tab.
- Choose your time zone, then click Save.
You can also open this tab from the Time zone config link on the Overview page. Only administrators can change the time zone.
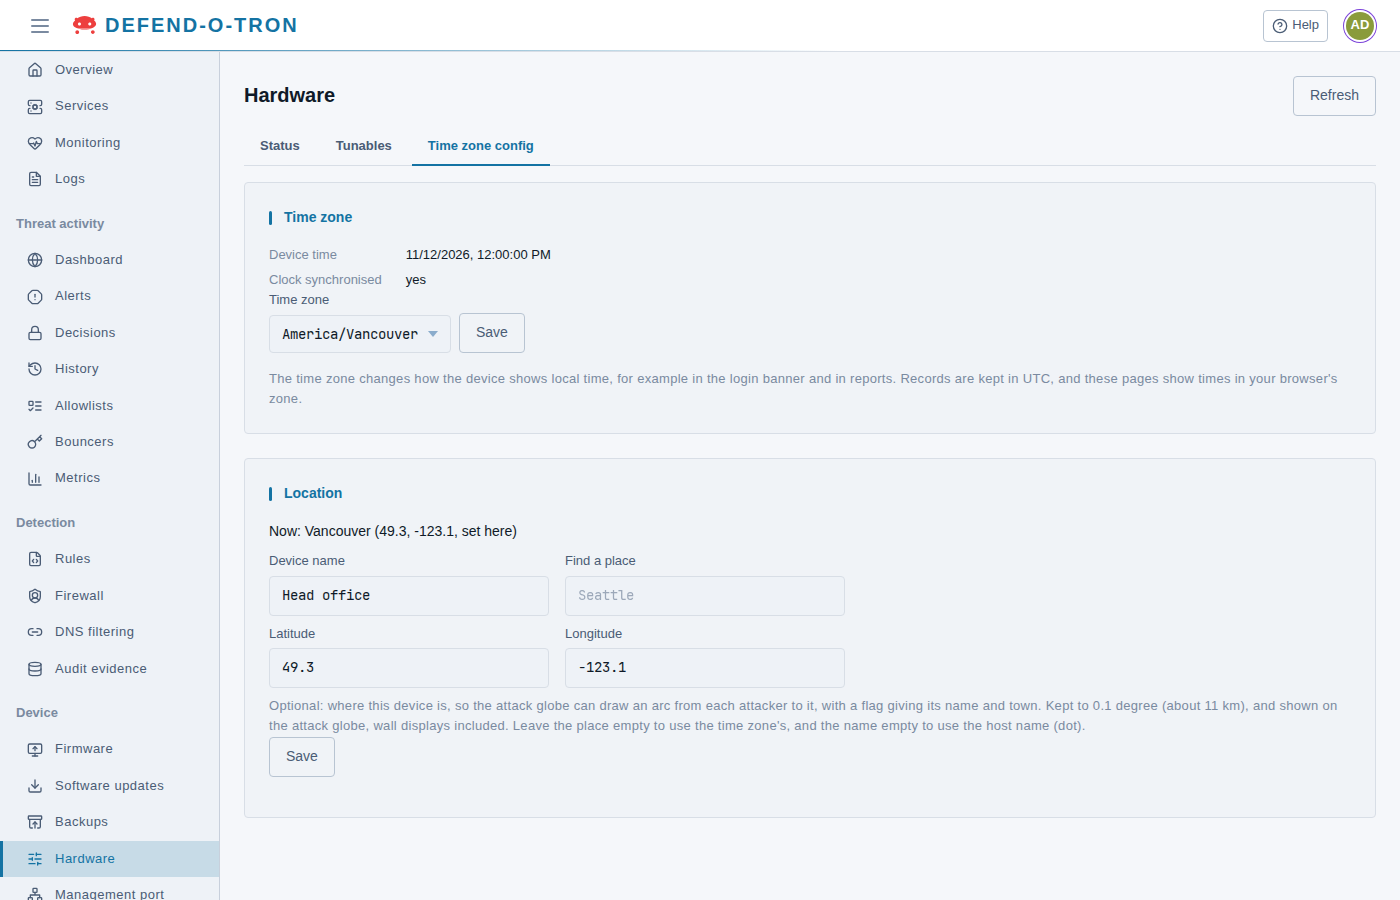
The time zone changes how the device shows local time, for example in the sign-in banner and in reports. The device keeps its records in UTC, and the web pages show times in your browser’s time zone.
¶ Device location
The attack globe on the Threat activity dashboard can draw an arc from each new alert to the Defend-O-Tron, with a green beacon where the device is and a flag giving its name and town. Turn it on under the globe’s Options with Attack direction.
The device’s location comes from its time zone until you set it. For example, every device on America/Denver is placed in Denver. A time zone with no place, such as UTC, draws no arcs. To set the location:
- Go to Device → Hardware and click the Time zone config tab.
- Under Location, type a town in Find a place and pick it from the list, or enter the Latitude and Longitude. Optionally give the device a Device name for its flag. Left empty, the flag shows the host name.
- Click Save.
To go back to the time zone’s place, empty Latitude and Longitude and click Save. The flag’s town is the one you picked, or the nearest town to the coordinates you entered. The setup wizard’s Time zone step offers the same fields.
The location is kept to 0.1 degree, about 11 km. Anyone who can see the dashboard, and any wall display, can see it on the globe. The place search uses a list stored on the device, so nothing you type is sent anywhere.
¶ Services, Monitoring and Logs
¶ Services
The Services page lists the device’s services, with their timers and sockets on separate tabs. Administrators can Start, Stop and Restart a service, and choose if it starts when the device starts. See Device Status.
¶ Monitoring
The Monitoring page shows how hard the device is working, and the programs that collect the figures behind the charts. See Device Status.
¶ Logs
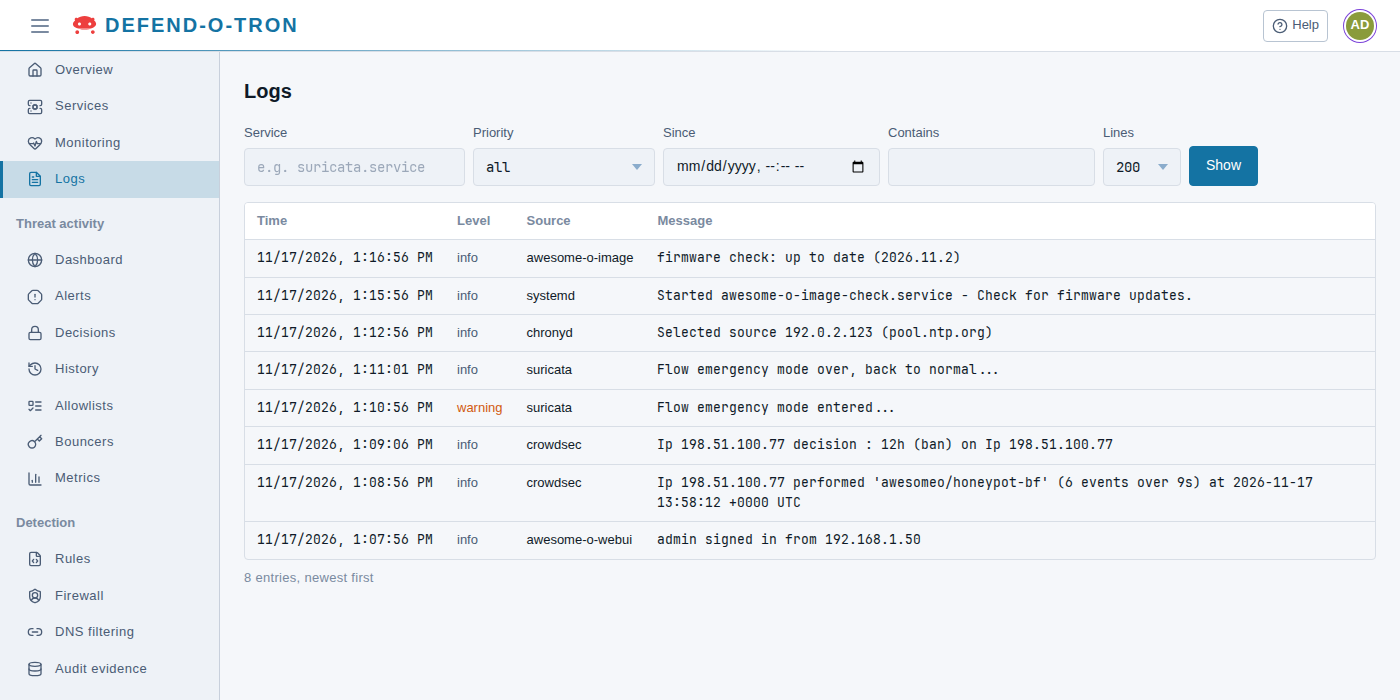
The Logs page shows the system log. Choose the Service, Priority, Since, Contains and Lines filters, then click Show.
¶ Threat Activity
These pages show what CrowdSec found and what it did about it:
- Dashboard: the activity chart, the global attack map and the top lists. Administrators can also make wall display links: a link that opens a read-only view of the dashboard on a screen, with no sign-in.
- Alerts: each alert, alerts grouped by source address, and attack sessions.
- Decisions: the addresses that are blocked now. You can ban an address or a range, and unban it. See Decisions.
- History: the bans over a longer period.
- Allowlists: the addresses that are never blocked. Use Check an address… to see if an address is on a list.
- Bouncers: the systems that receive the device’s block list. See CrowdSec API.
- Metrics: CrowdSec’s own figures.
For more, see Threat Activity.
¶ Detection
- Rules: the Suricata rule sets and your own rules. See Rules.
- Firewall: the trusted, blocked and management addresses, the honeypot ports and the Home network. See Firewall.
- DNS filtering: the AdGuard Home dashboard, its query log, and its settings. See DNS Filtering.
- Audit evidence: the integrity self-check, the newest records and the admin actions. See Audit Evidence.
¶ Device
¶ Firmware
The Firmware page checks for new firmware, stages it, applies it at the next restart, and can roll back to an earlier version. See Firmware Update for the full steps.
¶ Software updates
The Software updates page shows the Debian package updates for the device’s operating system, for example security fixes. Click Install now… or Install at next restart…, or Check for updates to look again. The device also installs Debian updates by itself once a week.
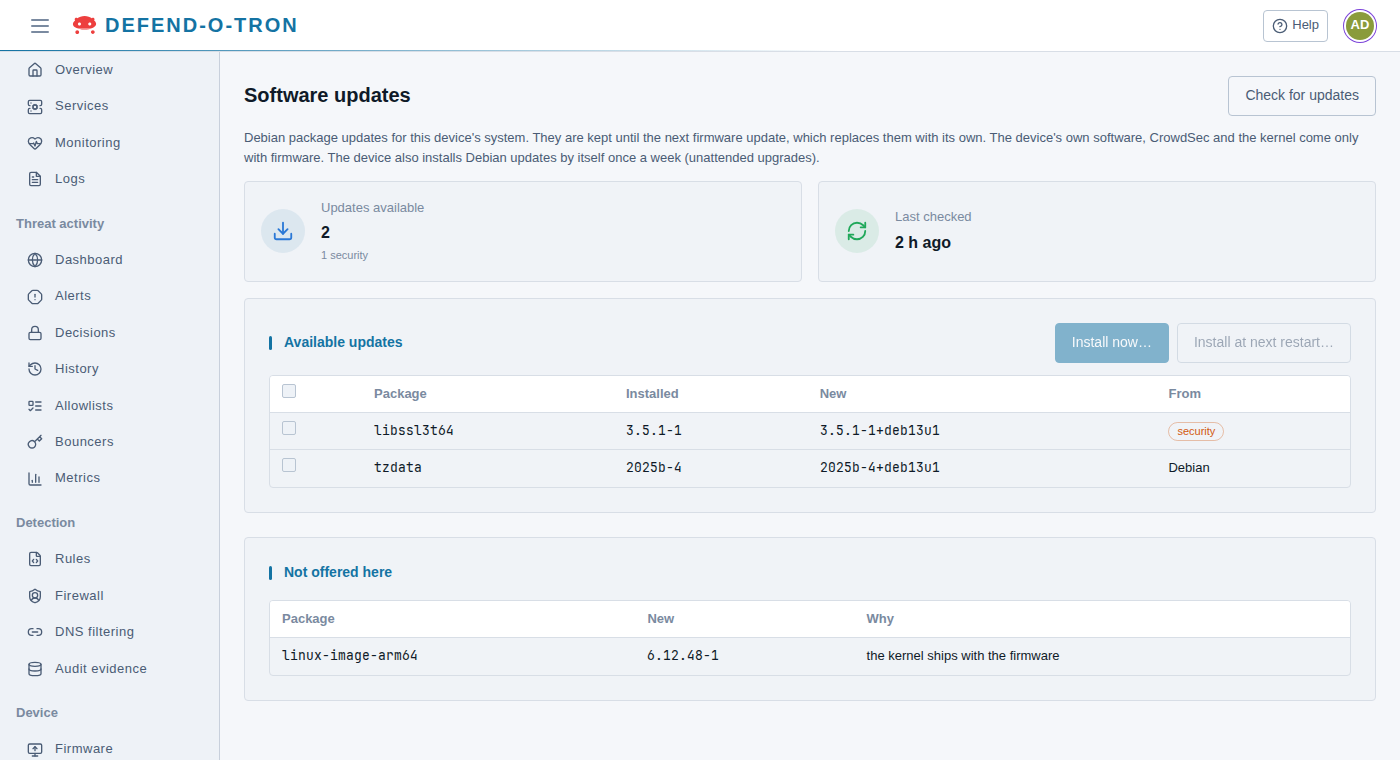
Software updates handles routine Debian package updates. The device’s own software, CrowdSec and the kernel come with each firmware, on the Firmware page. Packages that come with the firmware are listed under Not offered here. You can use both pages safely.
¶ Backups
The Backups page keeps copies of the device’s own settings and accounts: everything kept across restarts, except the container data. The copies are encrypted with the device’s backup password. Only administrators can use this page.
- Click Back up now for a copy at once.
- The Snapshots tab lists the copies. You can download or delete each one.
- On the Settings tab, choose where the copies go: the Persistent disk inside the device, or a USB drive.
- The Password tab shows the backup password. You need it to restore a copy on another device, so store it somewhere safe.
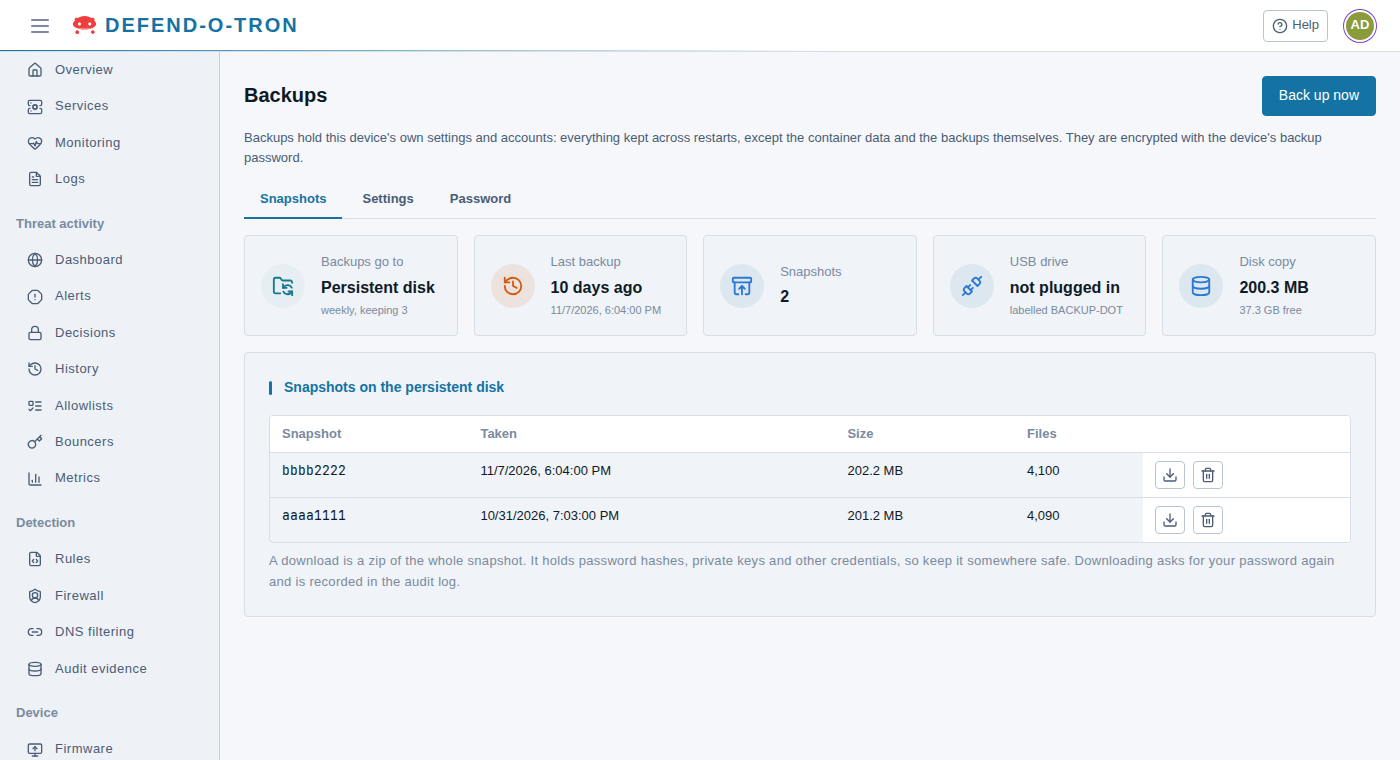
A downloaded snapshot holds password hashes, private keys and other credentials. Keep it somewhere safe. Downloading asks for your password and is recorded in the audit log.
¶ Hardware
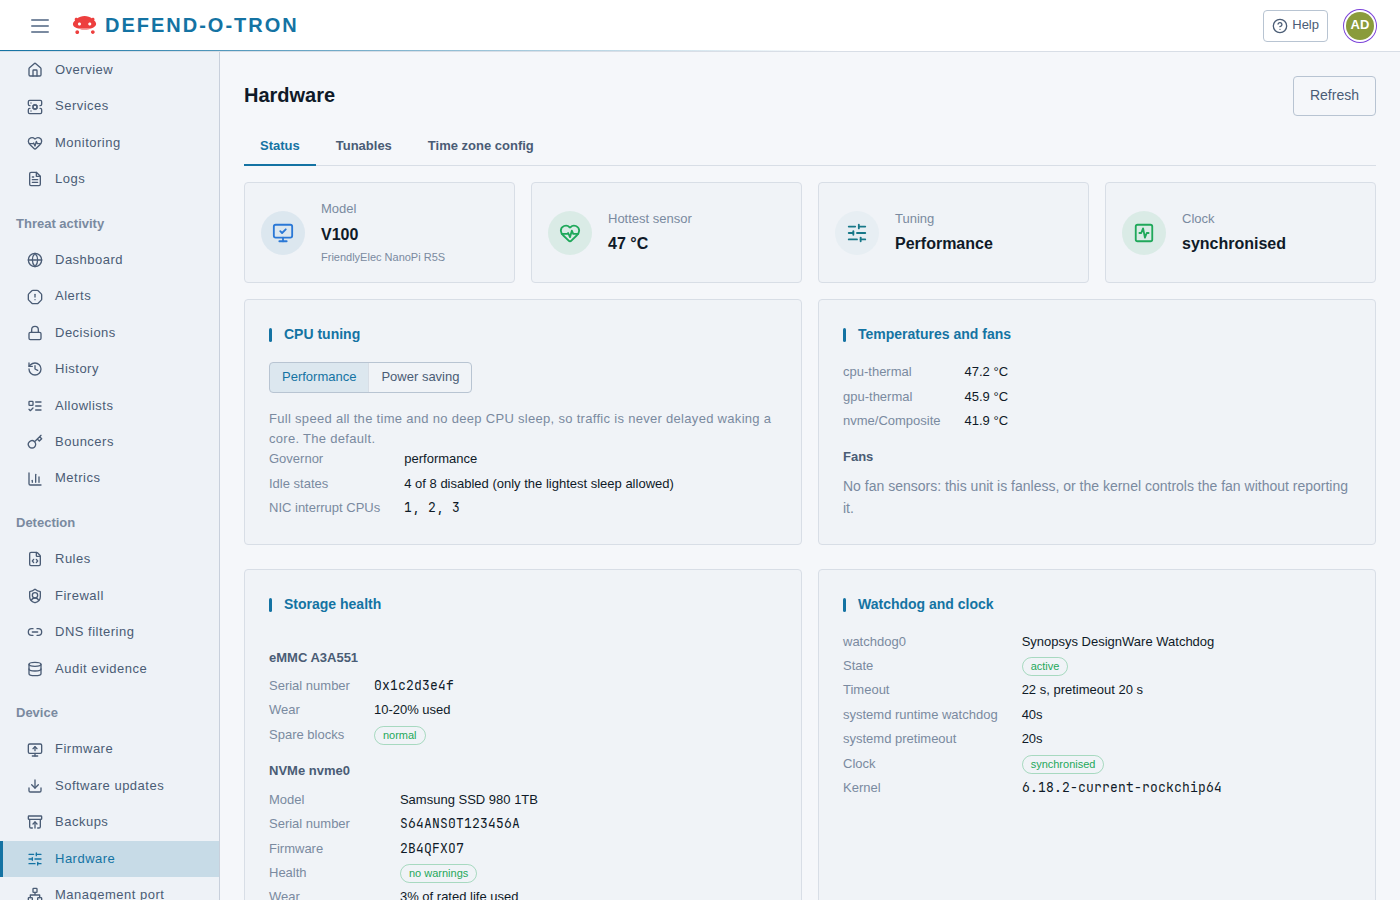
The Hardware page has three tabs:
- Status: the CPU tuning, temperatures and fans, storage health, the watchdog and clock, and the network ports.
- Tunables: the device’s tuning settings.
- Time zone config: the time zone and the device location.
¶ Management port
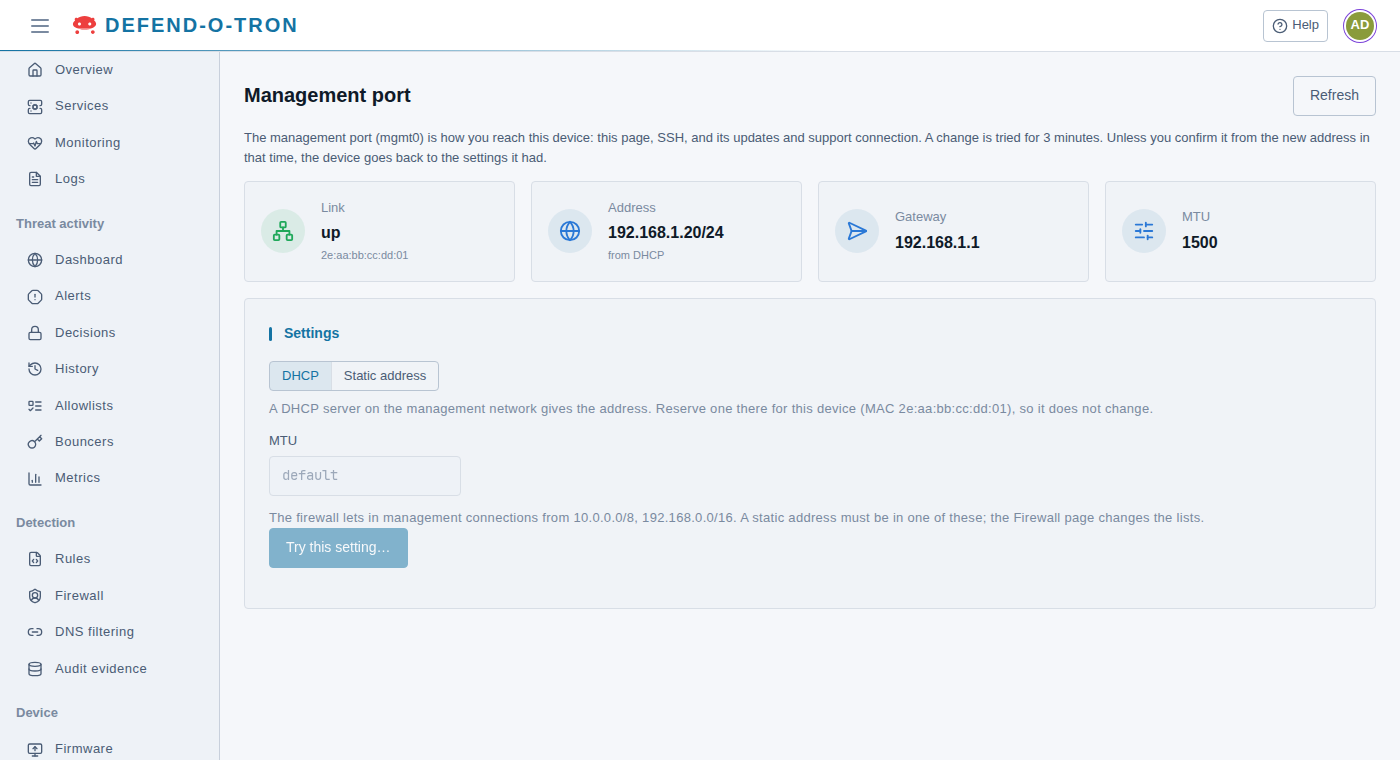
The Management port page sets the address of the management port, by DHCP or a fixed address. The device tries a change for 3 minutes, and keeps it only if you confirm it from the new address. If you cannot reach the device at its new address, it goes back to the old one. Only administrators can use this page.
¶ Certificates
The Certificates page lets you download the device’s Root CA, and shows its fingerprint. See Certificates.
¶ Remote support
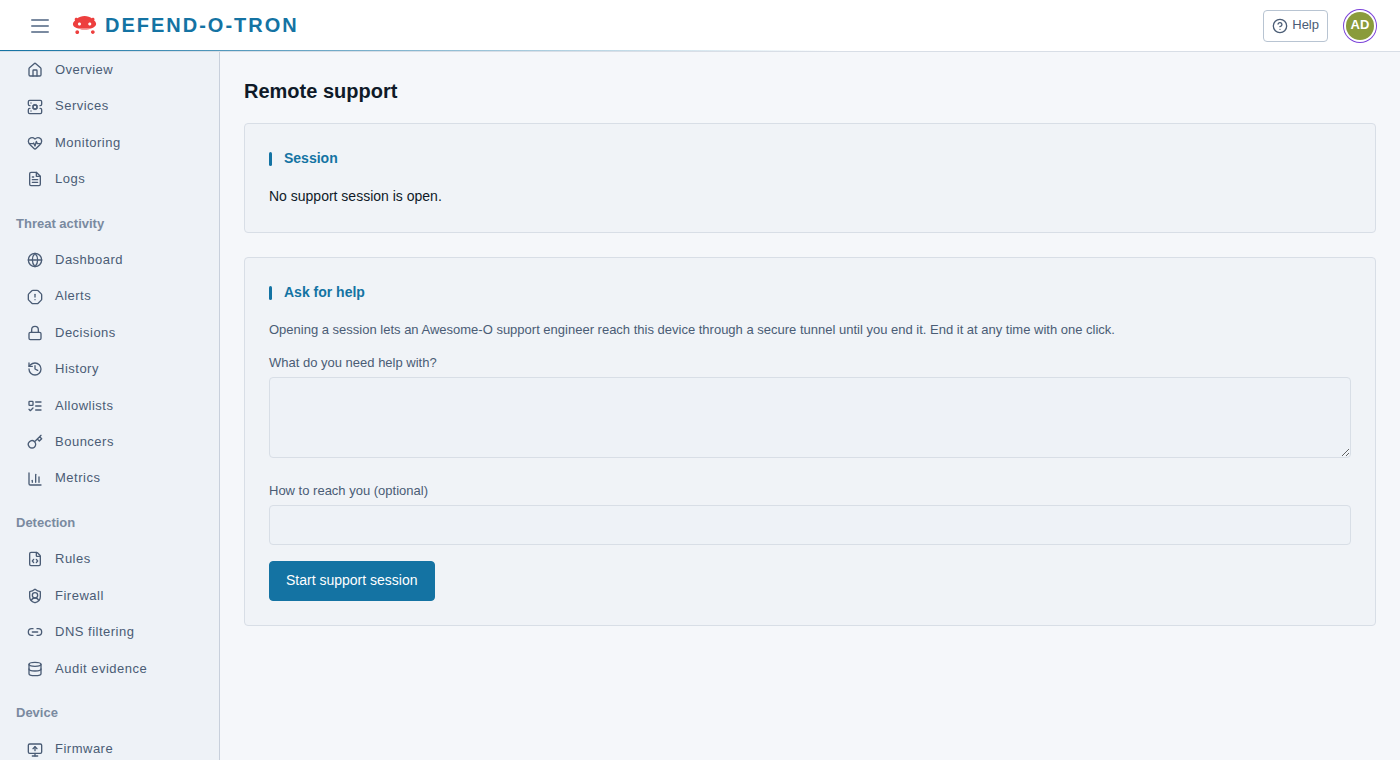
The Remote support page asks the Awesome-O support team for help. Describe what you need help with, and click Start support session. A support engineer can then reach the device through a secure tunnel until you end the session. While it is open, you can chat with the support team and add notes. End it at any time with one click. Only administrators can use this page. See Remote Support.
¶ Terminal
The Terminal page gives you a command line on the device, the same as an SSH session, without leaving the web interface. It connects when the page opens. If the session ends, click Connect to start again. You can change the font size and the appearance. Only administrators can use the terminal.

The admin user’s shell is zsh, with the oh-my-zsh framework for tab completion, history search and a friendlier prompt.
You use the terminal mostly for the CrowdSec cscli commands and the device’s own tools. Linux commands such as nano, sudo and htop work too. The cscli command with no parameters shows the CrowdSec metrics.
Common terminal tasks have their own pages:
- Command-line Tools: the device’s own tools, such as
do-stacks,awesome-o-imageandtech-support. - Compliance Reporting: make audit evidence packs with
defend-audit report, check them withdefend-audit verify, and change the signing key withdefend-audit key-rotate. - CrowdSec API: manage remote bouncer keys with
cscli bouncers add,cscli bouncers listandcscli bouncers delete.
¶ Account
¶ Accounts
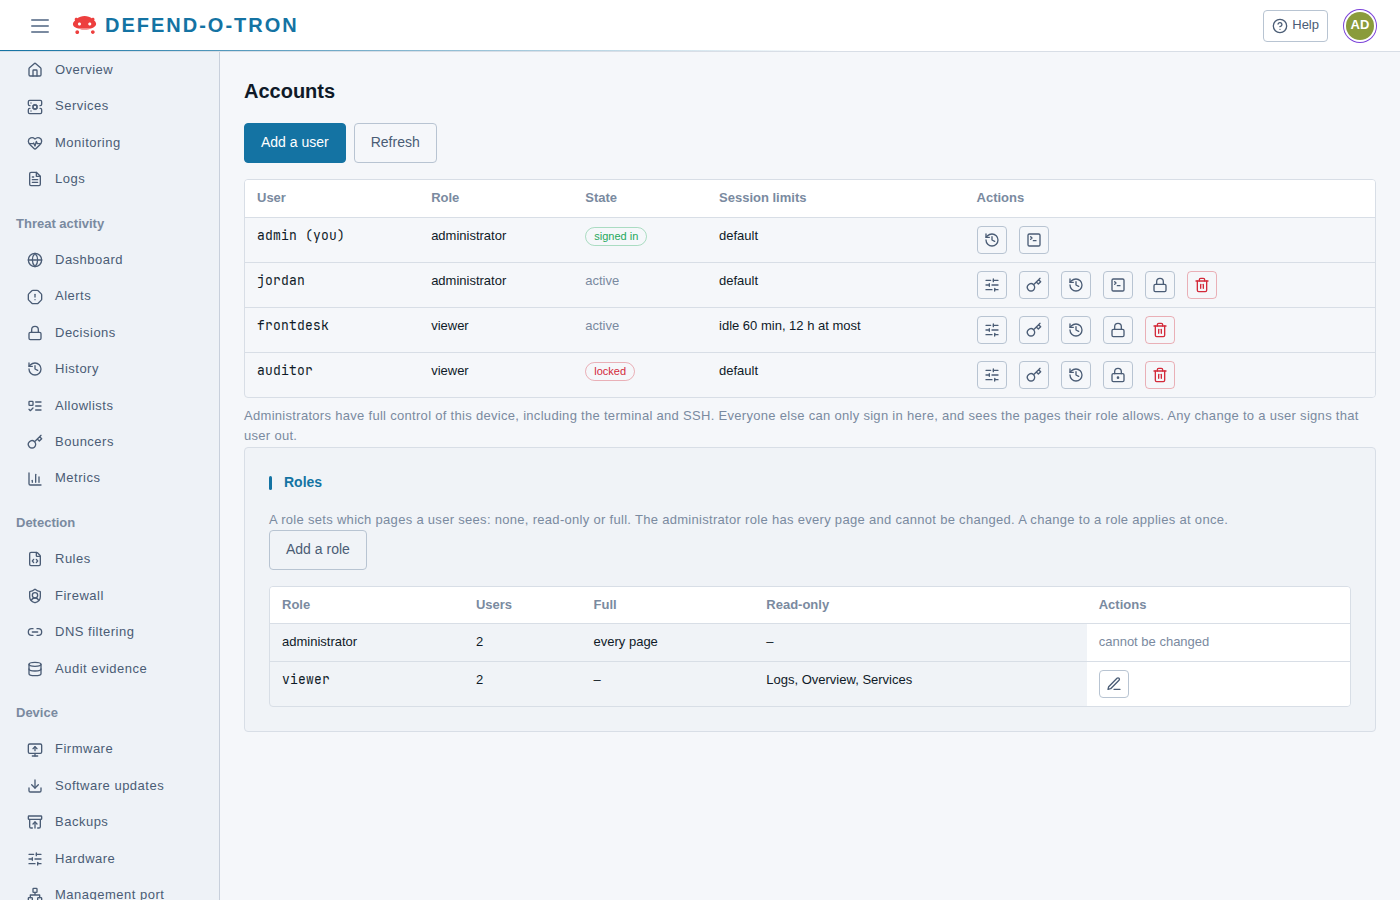
On the Accounts page, administrators add users, change their role, reset their password, lock or delete them, and set how long their sessions last. Administrator accounts also have SSH keys, for signing in over SSH. Adding a key to someone else’s account asks for your own password. The Roles card lets you make roles that show a user only some pages. Only administrators can use this page.
¶ Profile
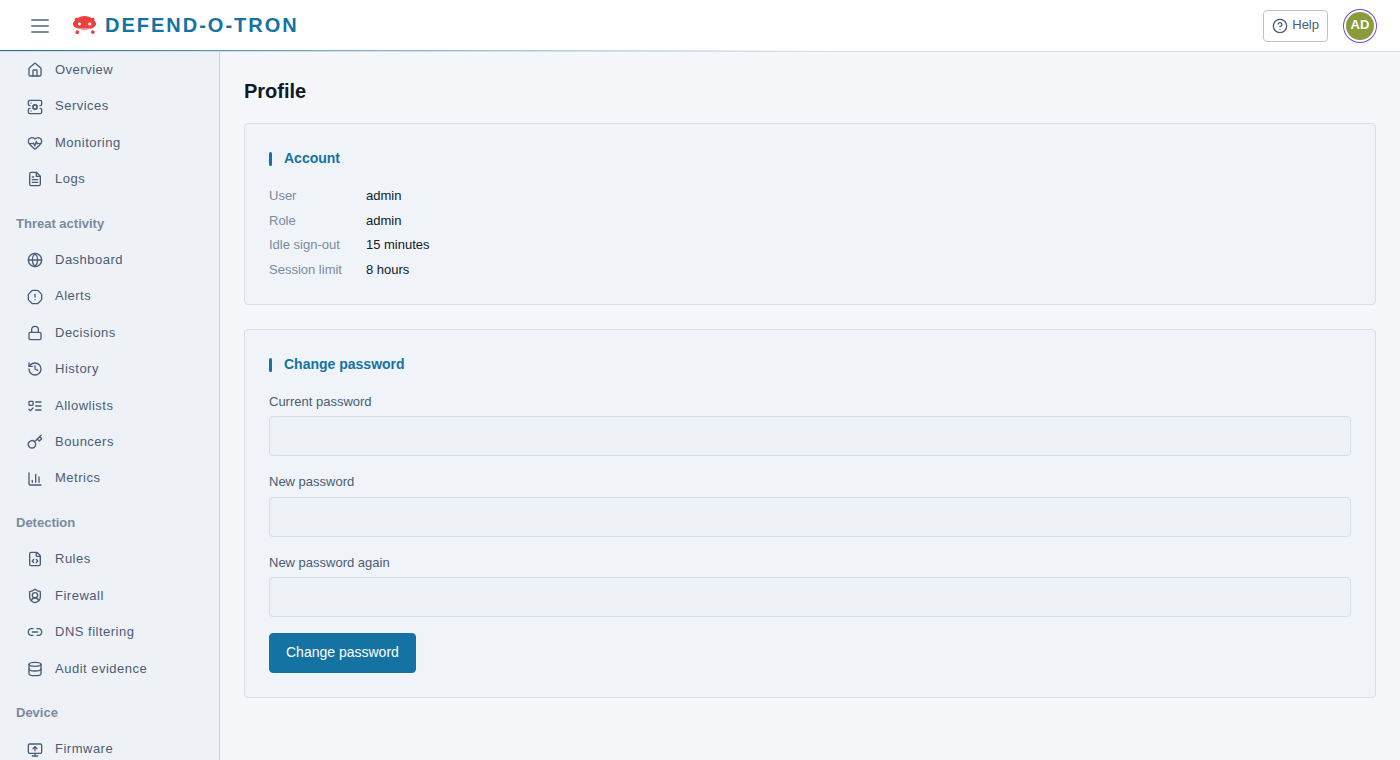
The Profile page shows your account and your session limits. This is where you change your own password.
¶ Extra Status Pages
¶ Traefik Status Dashboard
The web proxy, Traefik, has its own status dashboard. Open it from the Web access (Traefik) tab on the Monitoring page, or at https://<management-ip>/traefik/dashboard/.